
We went to the flea market recently, and were amazed by the abundance of scrap metal that could be used for metal sculpting -- a medium that we've always wanted to try out for ourselves. But right now, we do not have the basic skills, nor can we afford materials for artistic welding, so we decided to try out other medium instead to get started.
We chose oven bake clay!
I never worked with oven bake clay before, but even as a kid, playing with clay was one of the best experiences ever. There's just something about the soft texture of clay that makes even the simple rolling of it in my palms a unique experience.
The beauty of oven bake clay, compared to regular Play-Doh, is that you can sort of immortalize your sculpture through hardening your masterpiece in the oven. You can make figurines, paper weights, pendants, and all sorts of fun things, without having to worry about it getting squished into deformity.

My boyfriend made this cute Gameboy guy with headphones. Up close, it's so detailed and fun and nostalgic.

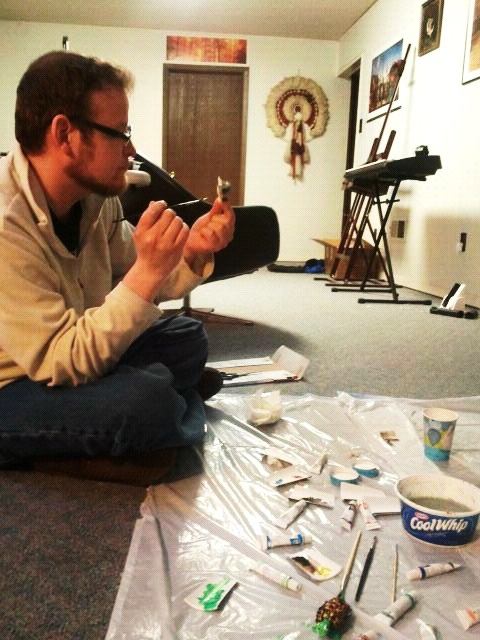
I made this little guy for him, which is also my first oven bake clay work. It only took me thirty minutes to sculpt the entire turtle, and about 45 minutes baking time.

Troy the Turtle (yup) without paint.
Here's how you can make your own oven bake clay masterpiece!
1. Choose your brand. Personally, I haven't had the opportunity to try as many brands to say which one is the best, but the most popular one is Sculpey.
2. Choose your work surface, and protect it. Unbaked clay may ruin the surface of furniture, so make sure you protect your area with a clay mat. Some artists say that glass surfaces work well with oven bake clay, but I tried working on my glass coffee table and it didn't work as well as I hoped. I just used baking parchment, and found that it also worked perfectly. I could also easily transfer it to the baking sheet when I'm ready.
3. Condition your clay. This is probably the most important step in oven bake clay sculpting. When you condition your clay, you simply work your clay by squishing it until it's smooth and pliable. This will prevent cracking once your clay has been baked.
4. Sculpt. It's time to make your creations! You can use different tools to make details, like pins or even pre-made clay patterns.
5. Bake. Although baking instructions differ for each brand, the standard is to preheat your oven to 275F, and, depending on the type of clay, it should bake for 15 minutes for every quarter inch of the sculpture.
6. Cool completely. Oven bake clay gets really, really hot, so be careful. Cool completely before displaying, painting, or sanding.
7. You're done! Water based acrylics work really well with oven bake clay. By this time, you can either paint or do finishing touches with sand paper.
There are a lot of oven bake clay tutorials on YouTube, but SoCraftTastic has to be my favorite. She's young and fun and so good at what she does.
I'm making mushroom pendants next!
Have you given your inner creative child a high five recently? Tell me about it and leave a comment! Cheers!
Also, welcome to my new blog project! Don't forget to check out my welcome post!
No comments:
Post a Comment